
Easy resin tutorial
Years ago I covered many of my mosaics in resin to give them more of a modern look and lately I’ve been playing around with it in my jewelry. There are some great books and tutorials out there and I just wanted to give you an easy *how to* if you’re curious about using resin.
©manon
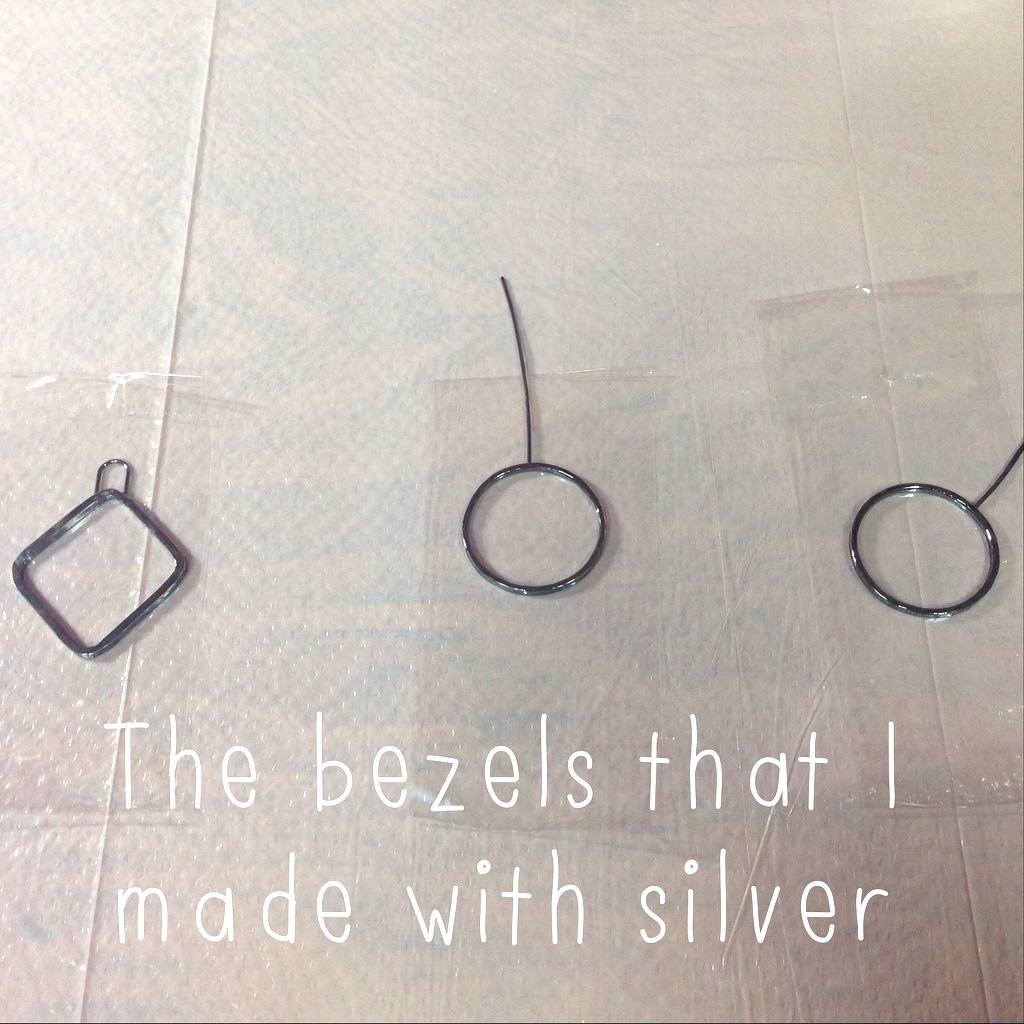
I made my own silver bezels for this project but I would suggest starting with cheap ones that you can buy online or at any craft store. Once I finished my bezels I laid an old garbage bag on my surface and adhered my bezels to packing tape…..sticky side up. Try not to get your dirty little fingers on the tape because anything that’s on there will ultimately transfer to your resin.
Next….a few safety tips….. wear disposable plastic gloves. Depending of the brand of resin that you use you may need a respirator or dusk mask if the fumes are particularly strong. Make sure you’re in a well ventilated space. I wouldn’t suggest doing this anywhere you’ll be consuming food.
©manon
There are many resins out there. Research on which one is the best for your needs but make sure that you find one that it is non-yellowing because you don’t want to have a piece get yellow down the line.
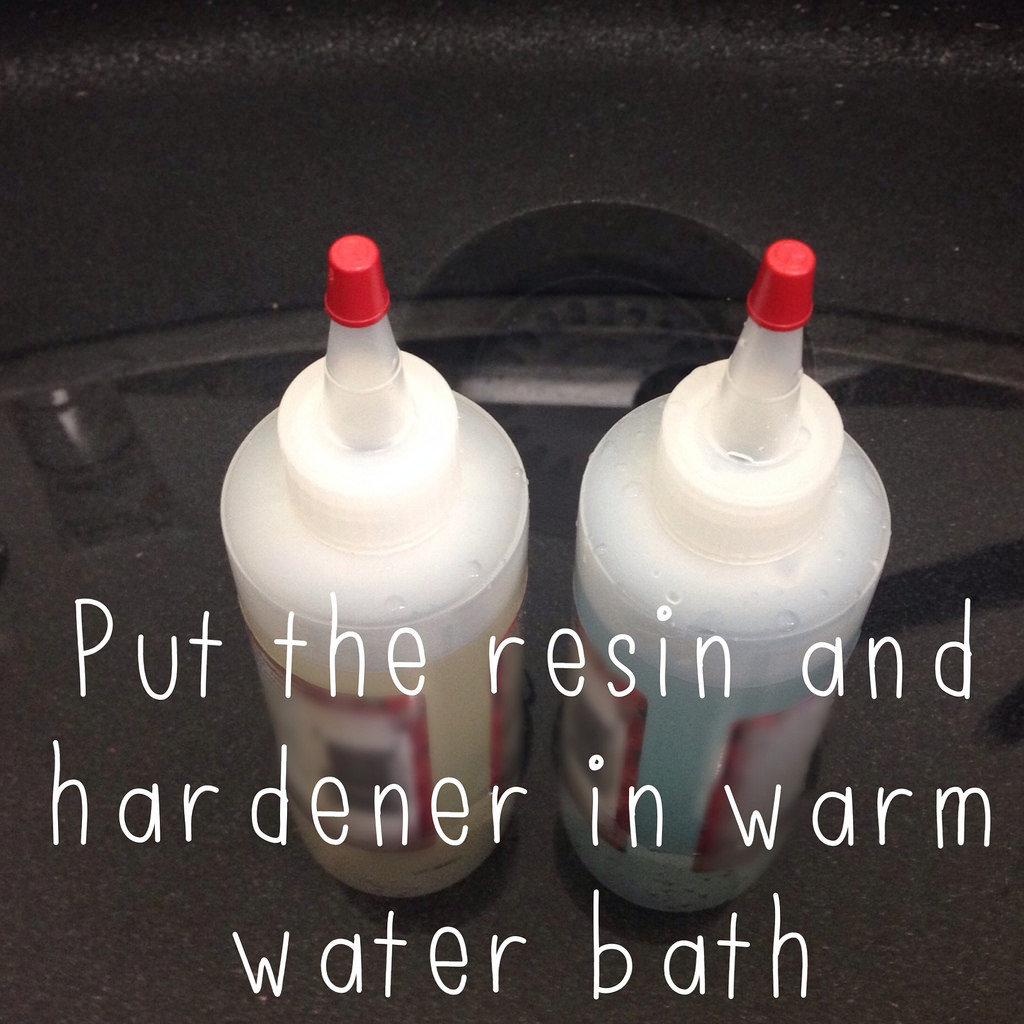
The resin comes in 2 parts. The resin and the hardener. It’s important that they are not cold when you start working with them so you can put them in a hot bath of water for a few minutes to warm them up.
©manon
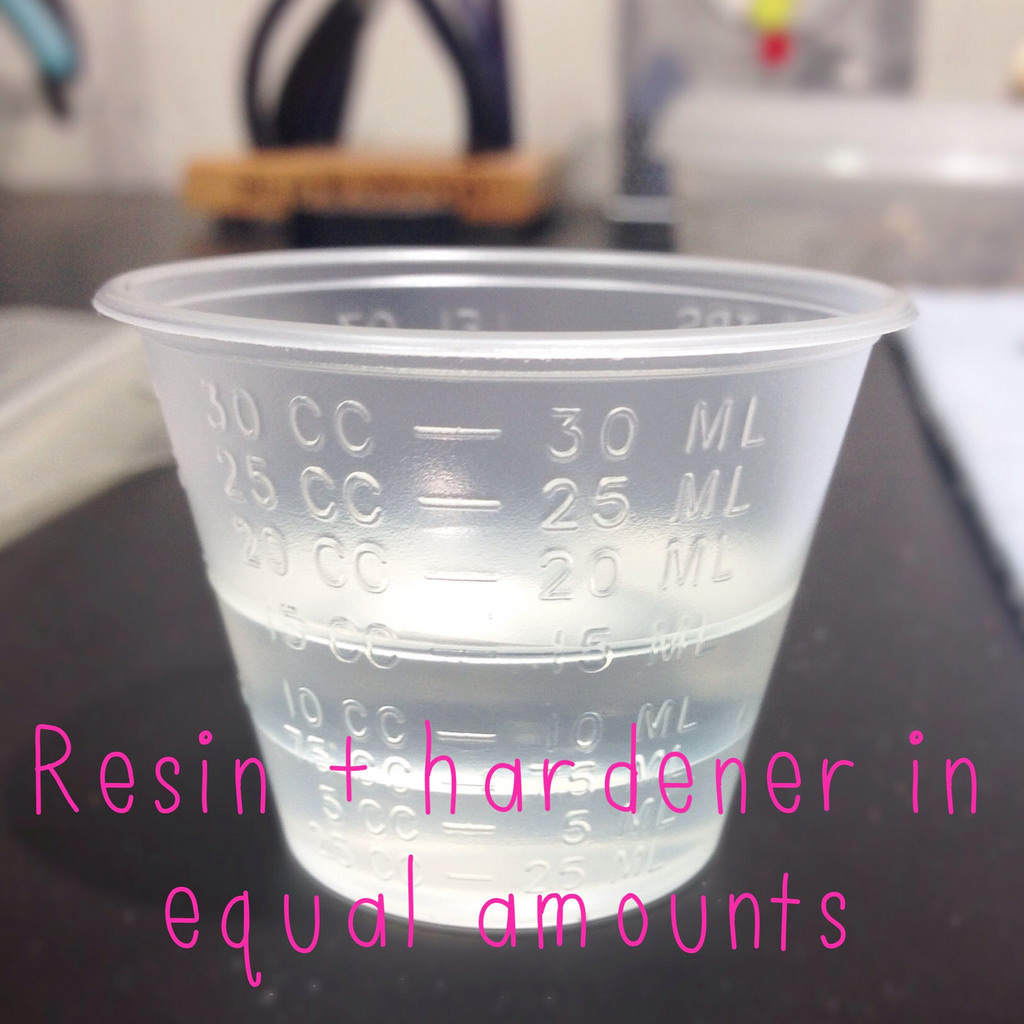
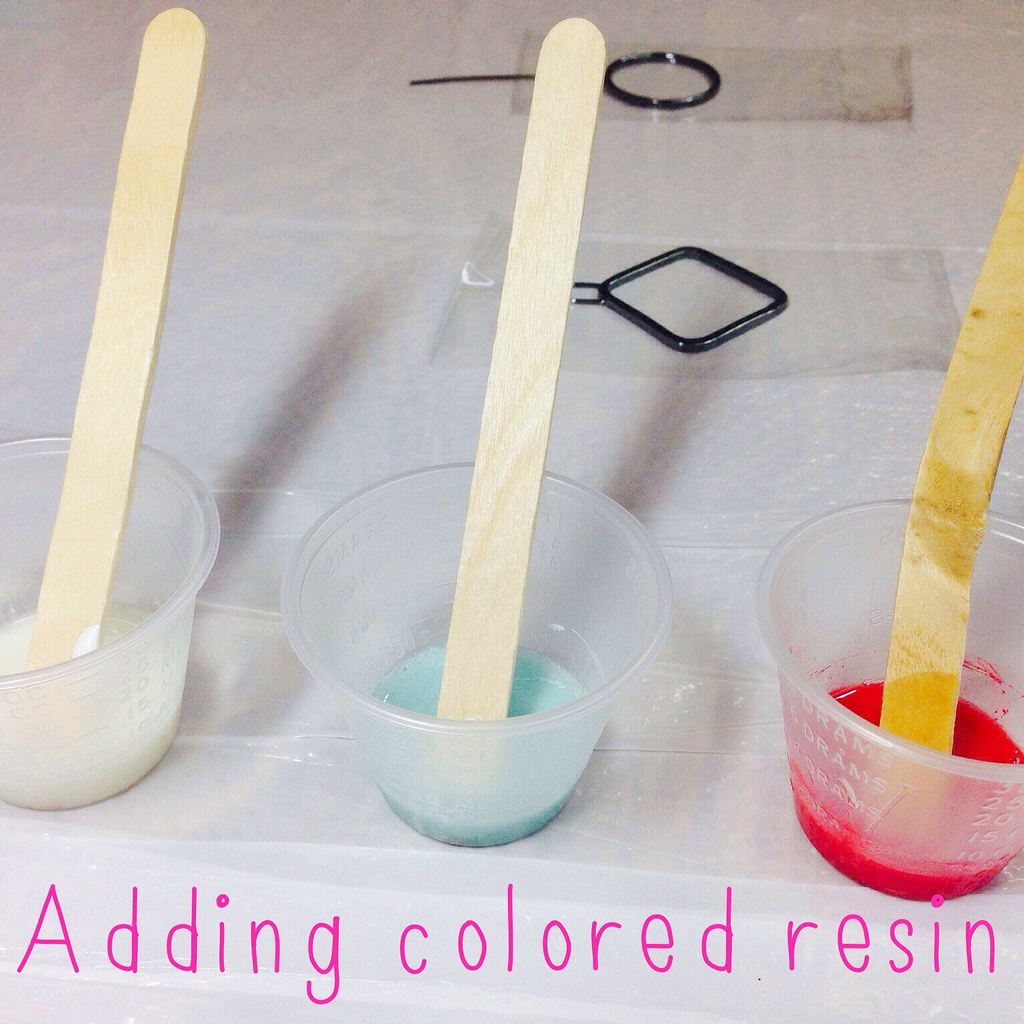
Mixing…… I buy the little pre-measured medicine cups to mix my resin. You will mix them in the exact amounts starting with the resin and then adding the hardener. Once you pour the resin let it sit for a second to make sure it’s the amount you want and then add the hardener. You are now ready to mix with a wooden stick. NOTE….. mix it very slowly for at least two minutes. The more vigorous the mixing the more air bubbles you are going to have. After the mixing is done you can either add color or keep it clear and let it sit under a heat lamp or light for 5 minutes to help draw out the air bubbles.
©manon
I added color to my resin and there are a variety of ways to do this. You can add a couple of drops of oil paint or acrylic paint. I’m told that pastels can be ground up and mixed in. Some people use a tiny amount of mica powders. Perhaps you want to leave your resin clear and carefully put something in it like pieces of glass or beads. The fun thing about this is that you can experiment.
Now you’re ready to pour. Do so carefully so you can see where the resin is going. Pour until you’re happy. Have toothpicks or a needle to get any air bubbles that are present. You have about 30 minutes to work with this. The resin will set up pretty quickly so leaving the room for an hour and coming back to it isn’t going to work out for you. Once you’re happy with what you’ve got you can cover your work with anything that will keep the dust out while it cures. I use a container that is meant to store things in and I put it over the pieces. The dry time depends on your product but I let it sit 24 hours before I take it out. Also…. the overall cure time is about 3 days.
©manon
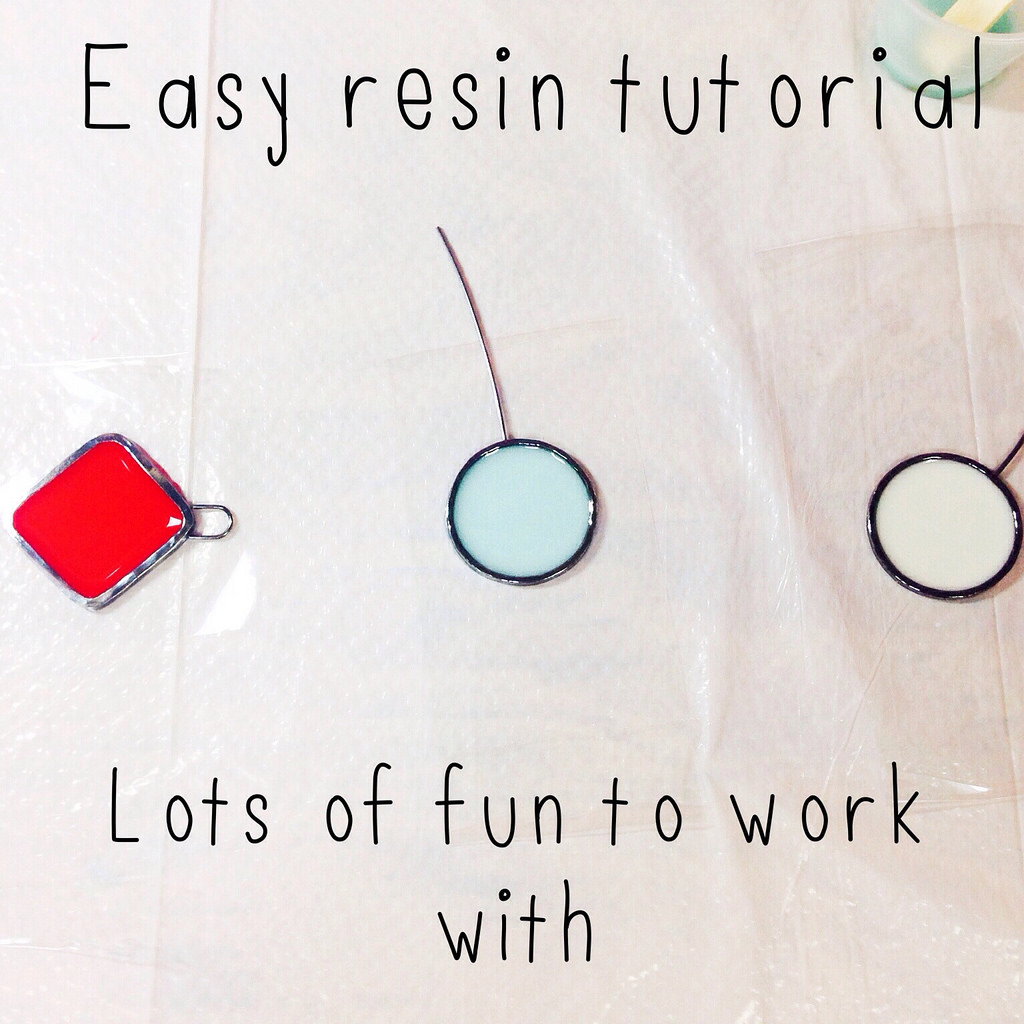
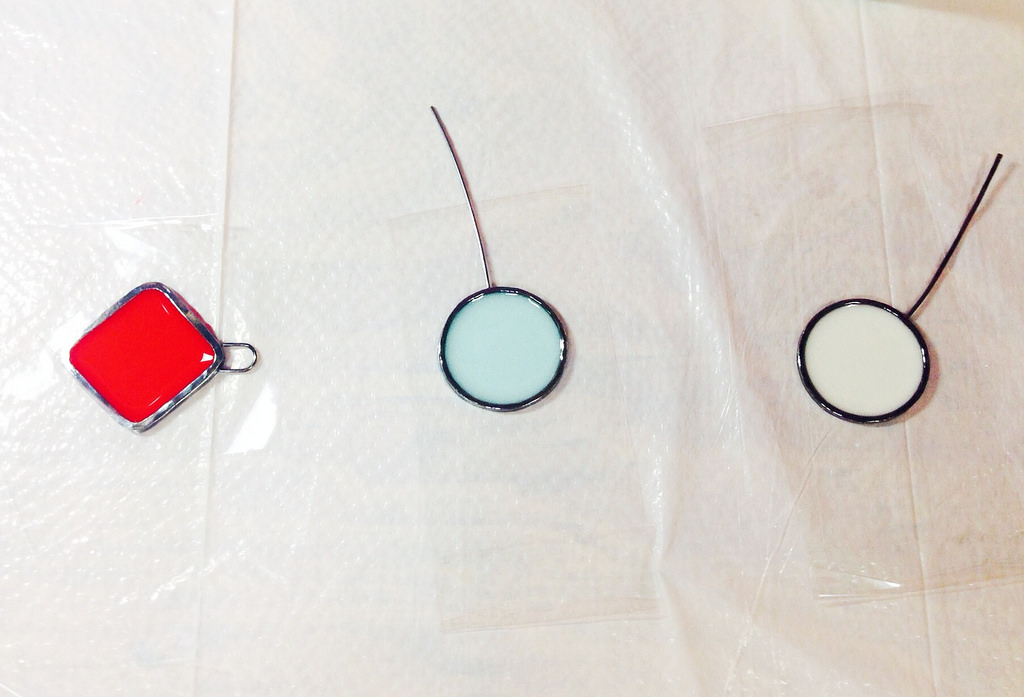
These are what my pieces looked liked at first. Cute but I wasn’t done. I didn’t pour too much initially into my bezels because I wanted to add some snippets of my artwork to my pendants. I made sure my condensed copies of artwork were sealed with a gel medium and then I adhered them to the resin on the bezel. I then poured a clear batch of resin and let them sit for another 24 hours.

©manon
These are my finished pieces ready to string on silver chain. I think they turned out great.
Resin has so many possibilities. Give it a whirl!! If you want to push it more you can look up some books on this topic that will inspire you!!
fill your heart with art
~manon